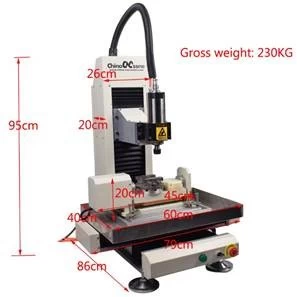
Steel structure 3040 5 axis usb port Wood engraving and carving Cnc router machine metal For Volcani
On December 26, 2019, our companyconducted a Volcanic relief engraving. The following are more details.
Step 1. Preparation
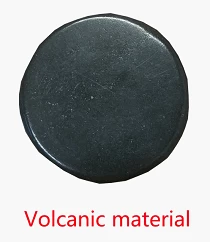
(1) Below isour Volcanic relief before engraving:
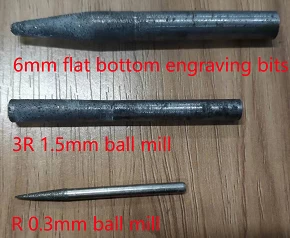
(2)Below are our engraving bits:
Step 2. Process:
These are our experimental procedures,which mainly include three aspects: Rough Engraving by 40° flat bottom engravingbits,acurracy engraving by 3R 1.5mm ball mill and acurracy engraving by
(1)Rough Engraving by mm 6mm flat bottom engravingbits
Table 1 .Rough Engraving by 6mm flat bottom engravingbits Parameter Table
|
Project |
Value |
|
Carving Tool |
6mm flat bottom engraving bits |
|
Spindle Speed |
12000RPM |
|
Feed Speed |
1000mm/min |
|
Feed Depth |
0.15mm |
|
Precision |
0.02mm |
|
Processing Time |
60mins |
(2)Rough Engraving by 3R 1.5mm ball mill
This is the first step ofAcurracy Engraving, which is mainly to polish Volcanic relief.
Table 1 .Rough Engraving by 6mm flat bottom engravingbits Parameter Table
|
Project |
Value |
|
Carving Tool |
6mm flat bottom engraving bits |
|
Spindle Speed |
12000RPM |
|
Feed Speed |
1000mm/min |
|
Feed Depth |
0.1mm |
|
Precision |
0.02mm |
|
Processing Time |
90mins |
(3)Acurracy Engraving By 0.3mm R1 ball mill
This is the final AcurracyEngraving, the precise production of Volcanic relief is completed throughthis step.
Table 3 . Acurracy EngravingBy 0.3mm R1ball mill Parameter Table
|
Project |
Value |
|
Carving Tool |
0.3mm R1 ball mill |
|
Spindle Speed |
15000RPM |
|
Feed Speed |
600mm/min |
|
Feed Depth |
0.05mm |
|
Precision |
0.02mm |
|
Processing Time |
90mins |
Step 3. Product comparison before and afterengraving
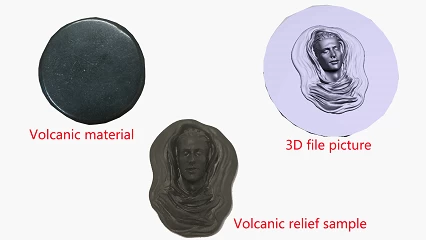
Below,the left picture is theVolcanic relief before engraving, The right picture are the 3D picture file andVolcanic relief after engraving.

Chinacnczone wish youall the best.


